Log Cabin Block Experiments

I’ve always enjoyed working with the Log Cabin block. It’s easy to make and you can create many different and interesting layouts with it. I had a few experiments I wanted to do.

Note: I updated the end of the post on 9/16/2021 to include a photo of the quilt with cornerstones.

Left or Right?

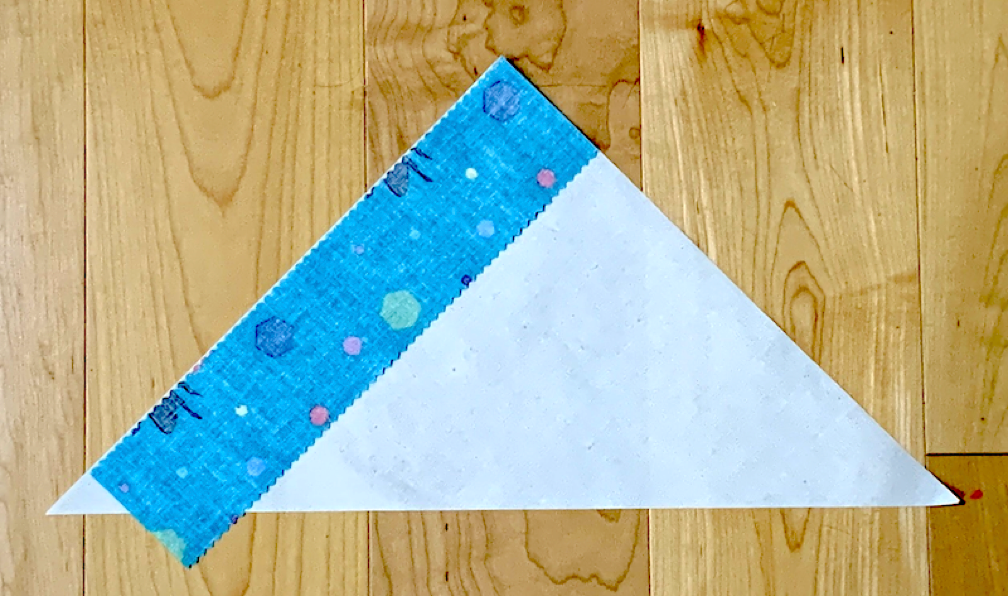
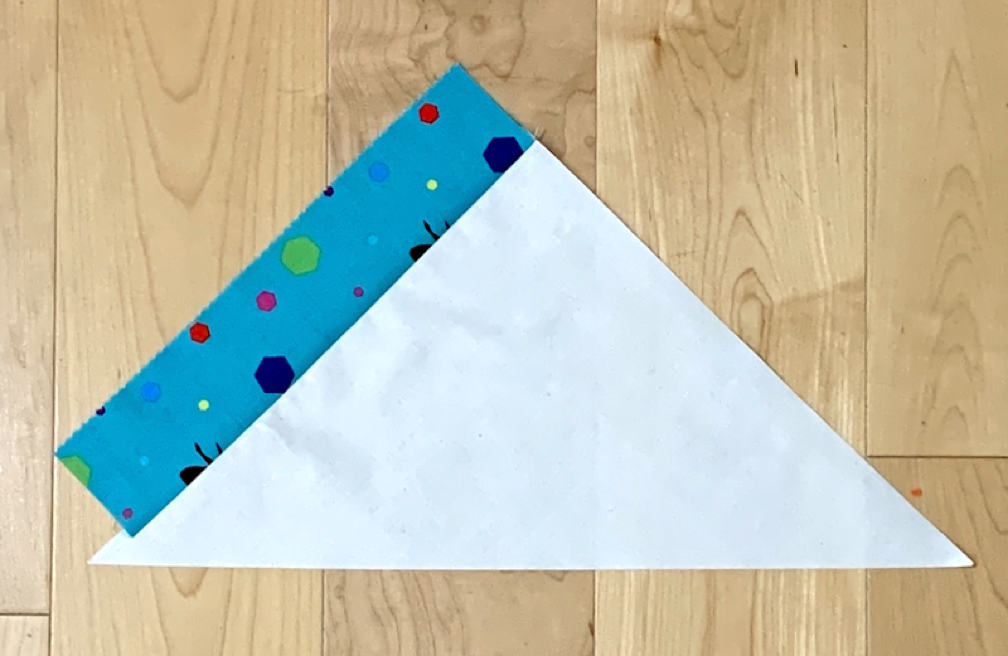
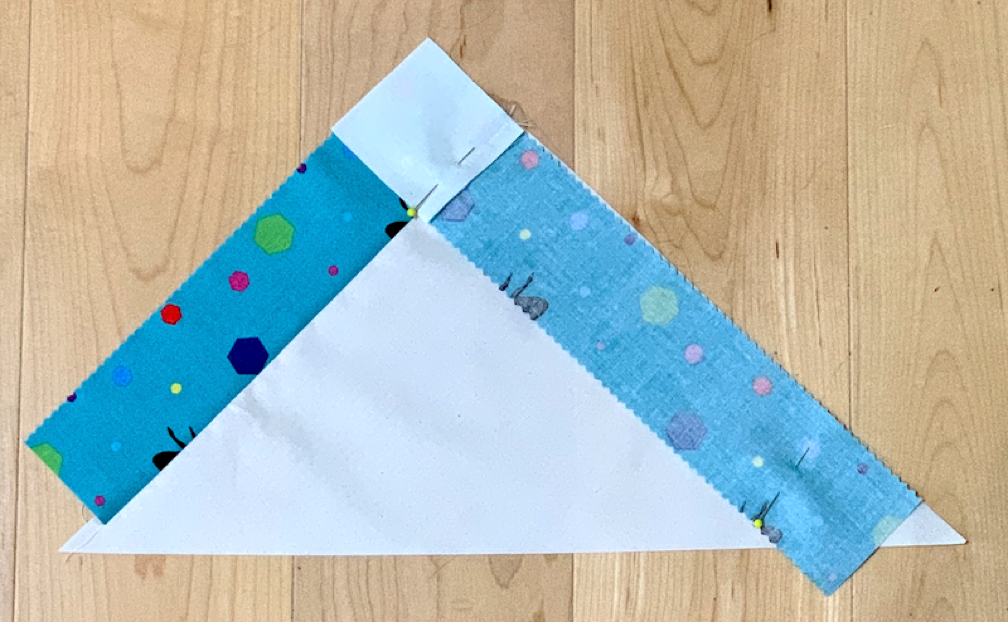
My first question for myself was, “Does it matter whether you add the strips to the left or to the right?” The answer is, it works both ways as long as you are consistent in the direction you choose. That is, if you pick adding your strips to the right, always add your strips to the right if you want the color layout to end up the way you intended.

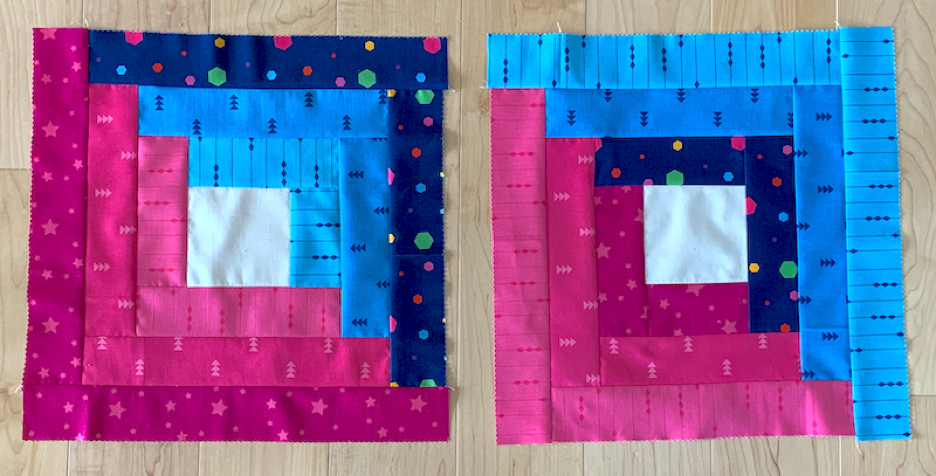
Dark Strips Inside or Outside?

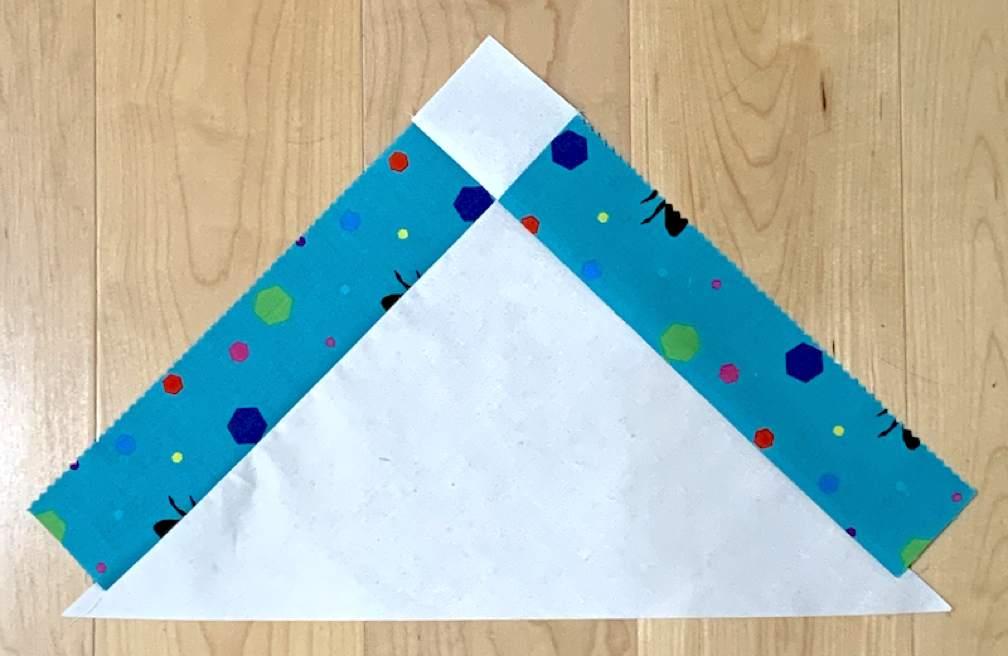
I wondered whether I would prefer the darker (or more vivid) color strips on the outside, which is what I see in most Log Cabin designs, or on the inside of the block. I like both of these, but I think I slightly prefer the one on the left.
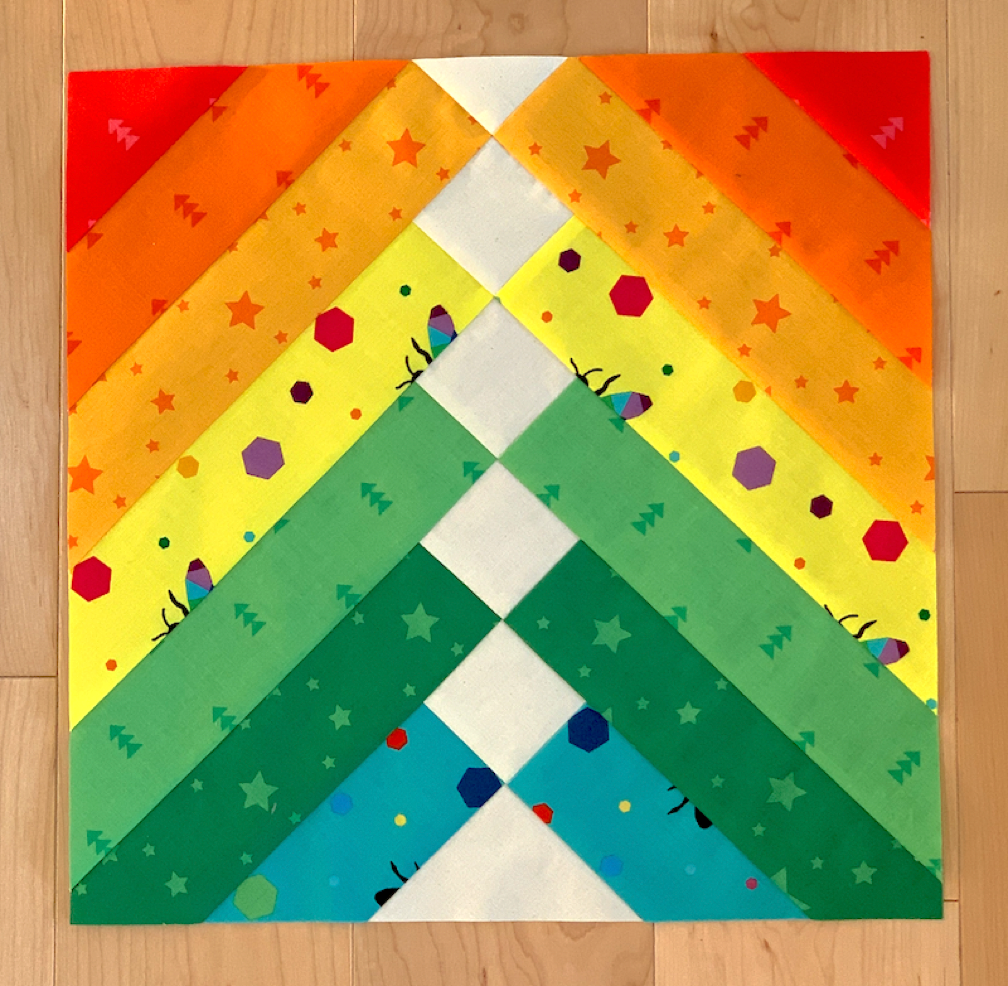
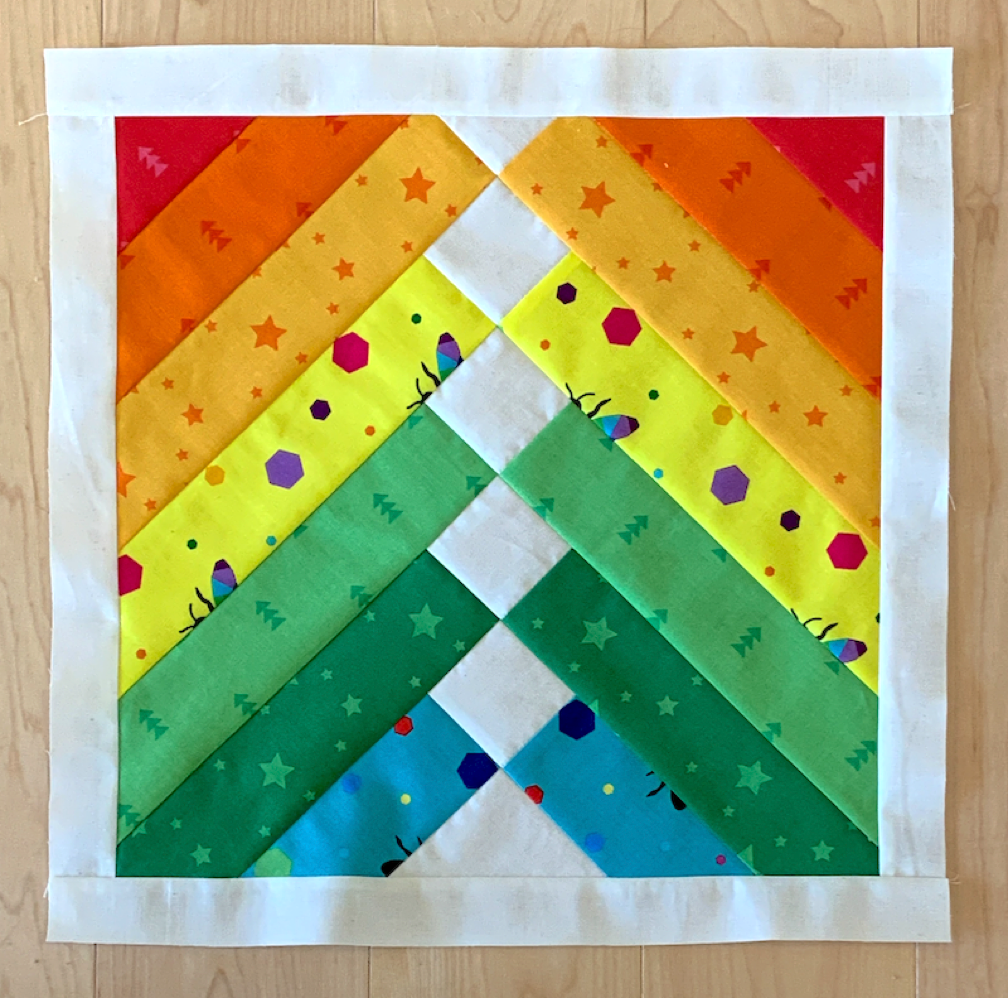
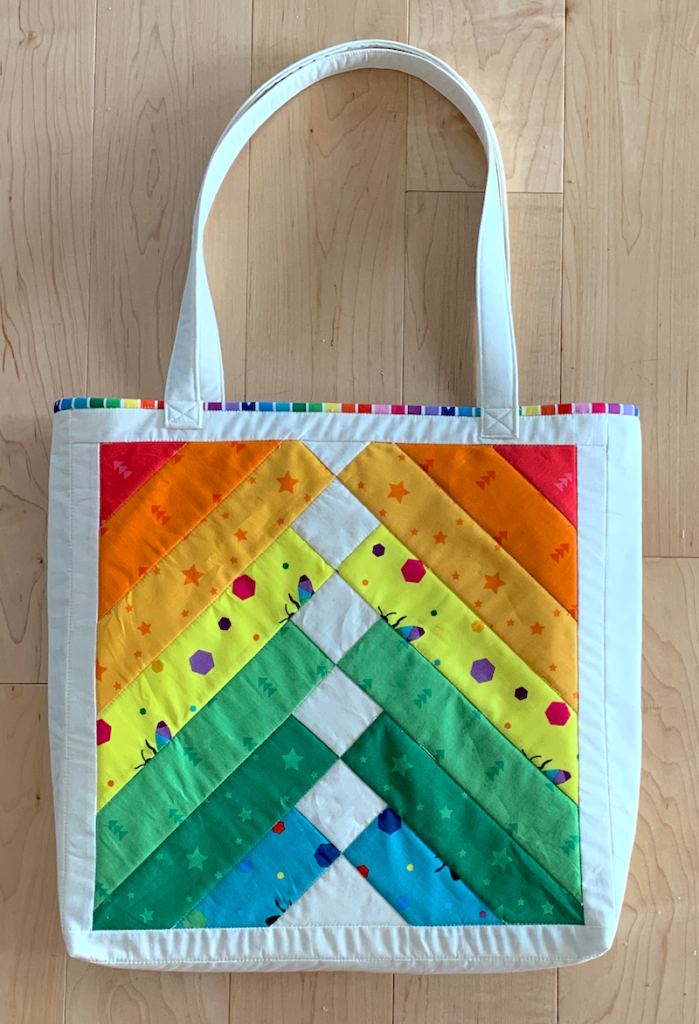
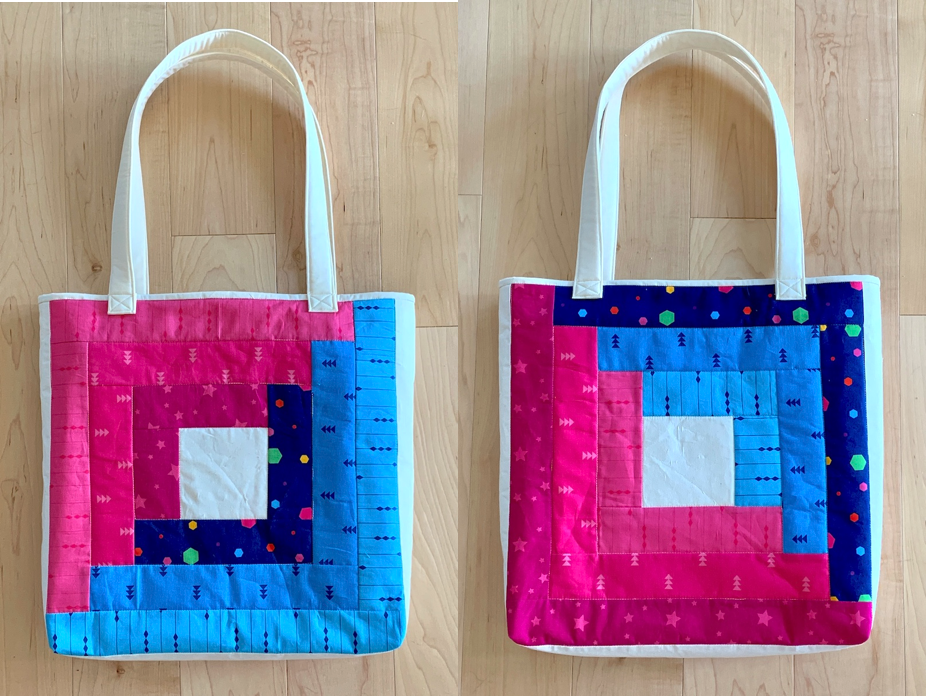
Tote Bag

It took exactly 6 jelly roll strips to make the two blocks I made and they are the perfect size for a tote bag 🙂. These photos show the two sides of the tote. Here you can tell that I added strips in opposite directions, making a left hand block and a right hand block.

You could use the empty space in the center for:

  • A fussy cut 4 inch square
  • An appliqué
  • A monogram or other embroidery

A full tutorial on how to construct the tote bag from the blocks you create is available at https://www.etsy.com/listing/1061546252/quilted-tote-bag-tutorial-pdf

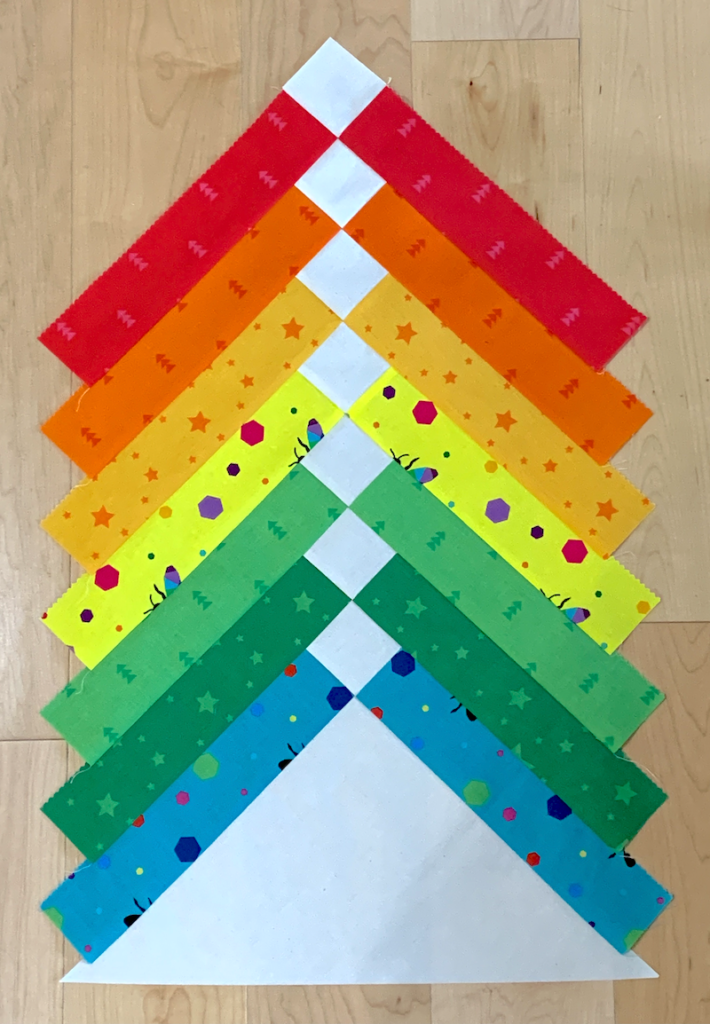
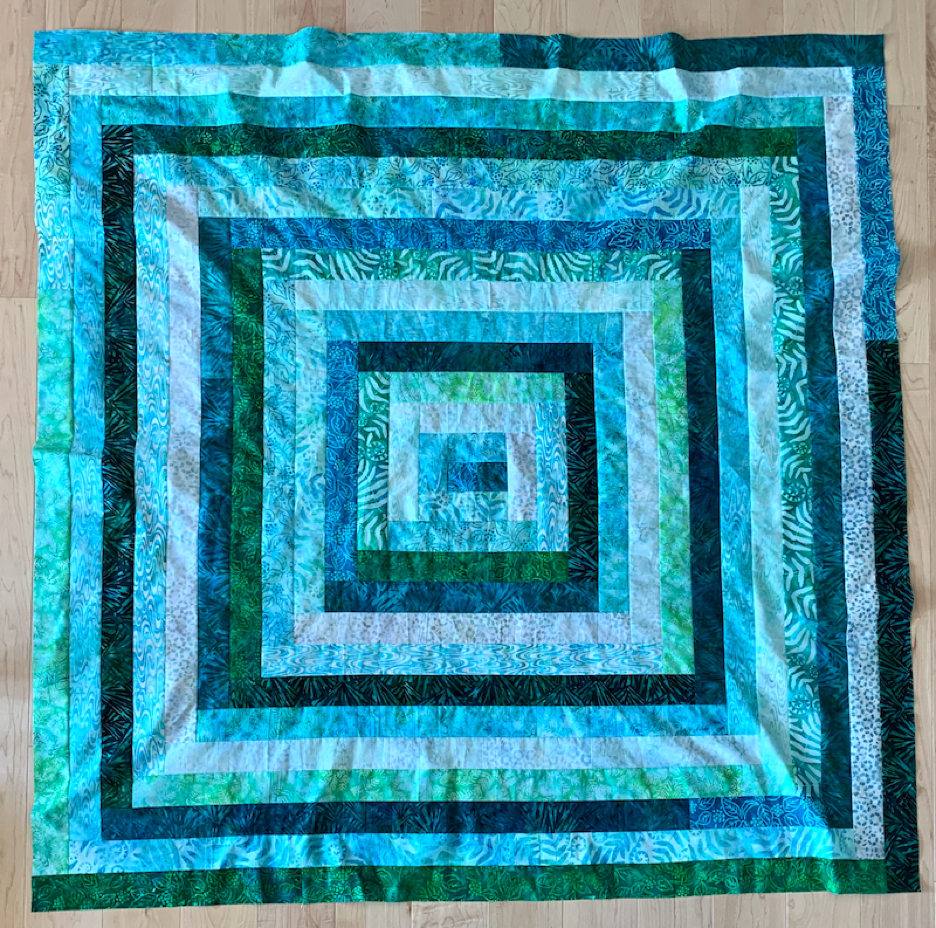
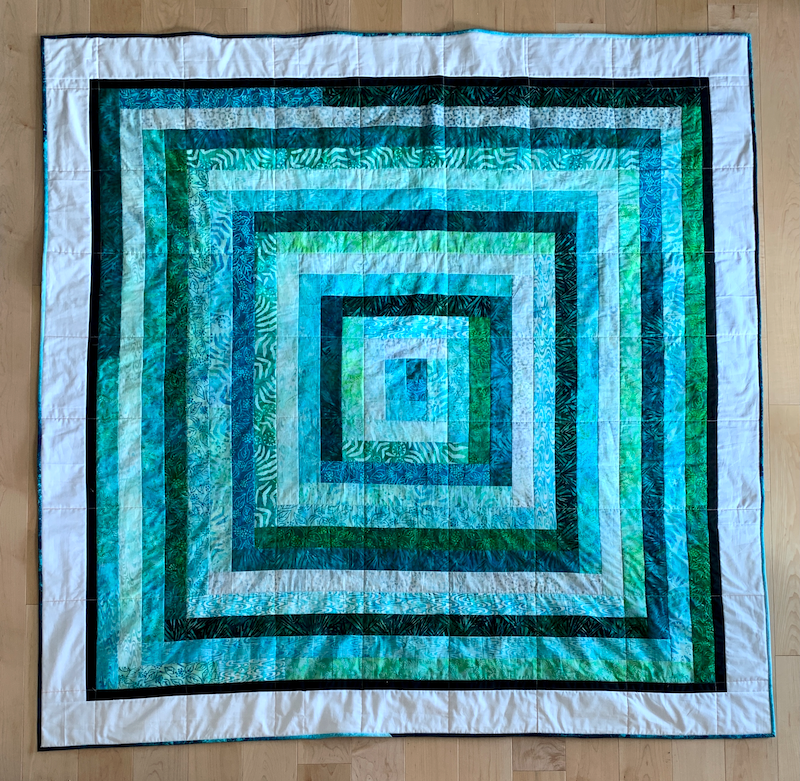
Jelly Roll Log Cabin Quilt?

I wondered what it would look like if I took one whole jelly roll, started at the center, and worked my way out until the entire jelly roll was used. Would I like the results? Would it look like a mishmash?

Here is what I did:

  1. Laid the strips out in same-color sets of strips, in the order the strips came off the roll.
  2. Picking a starting color for the center.
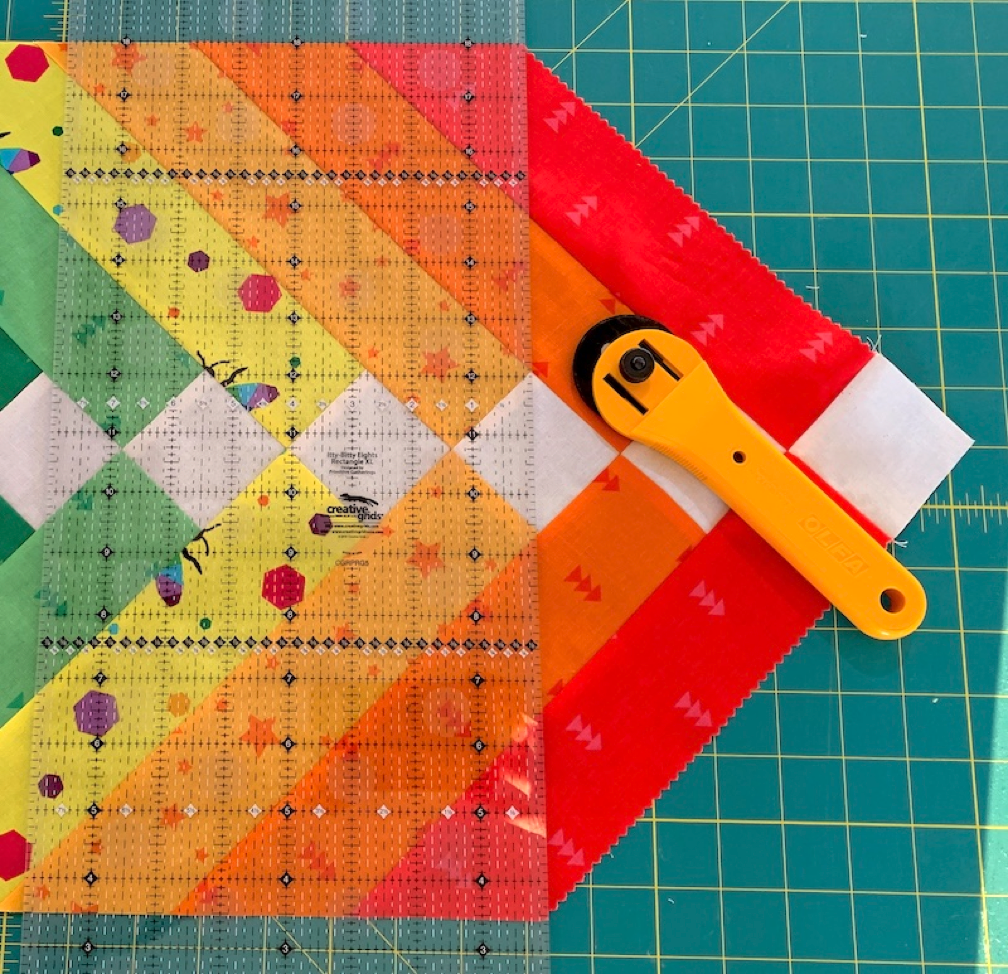
  3. Changed colors, in order, each time I made a turn.
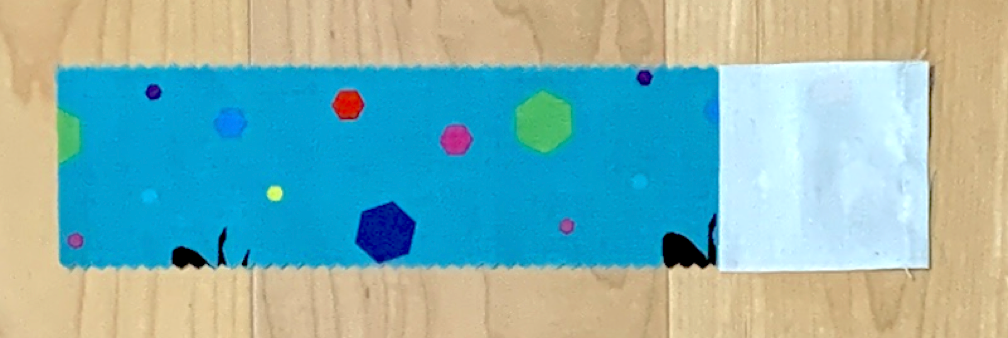
  4. When I got to the point that strips were too short to make the length of a side, I stitched same color strips together.
  5. When I got to the point where there wasn’t enough of a color to make the length of a side, I stitched the strip together with the next color.

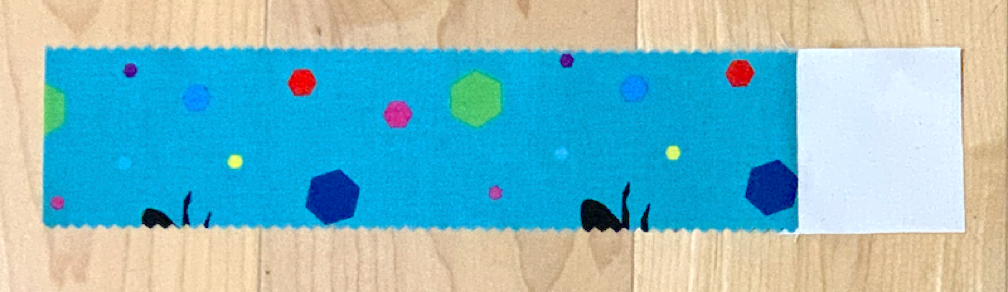
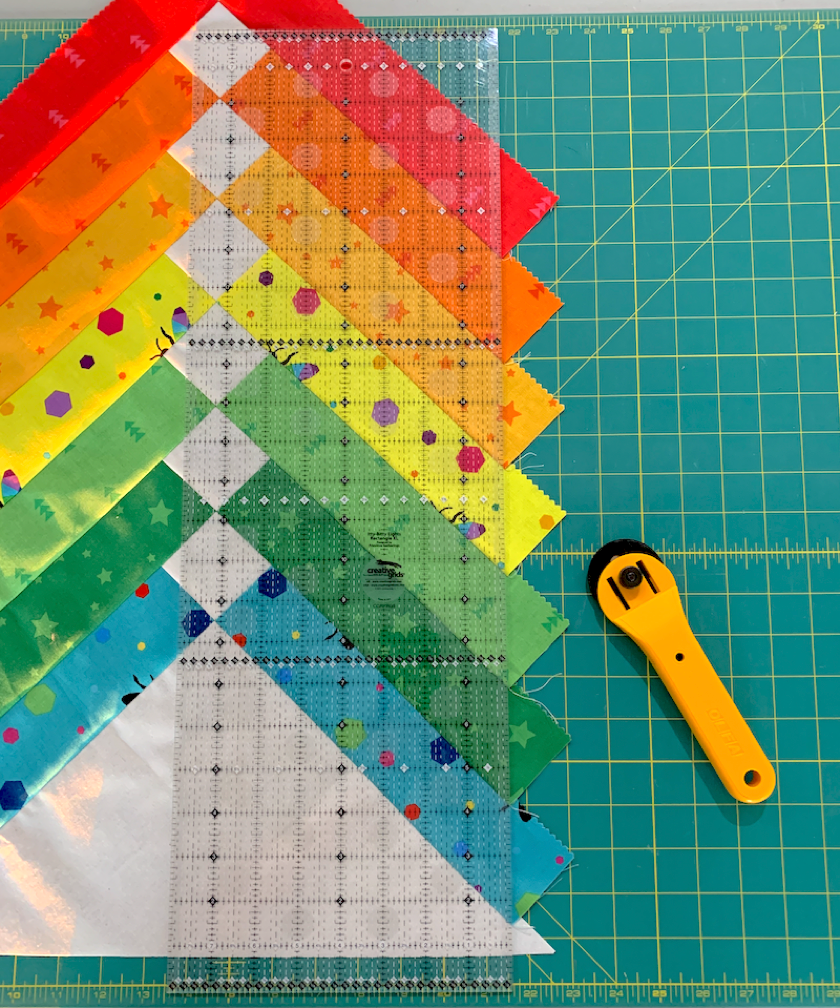
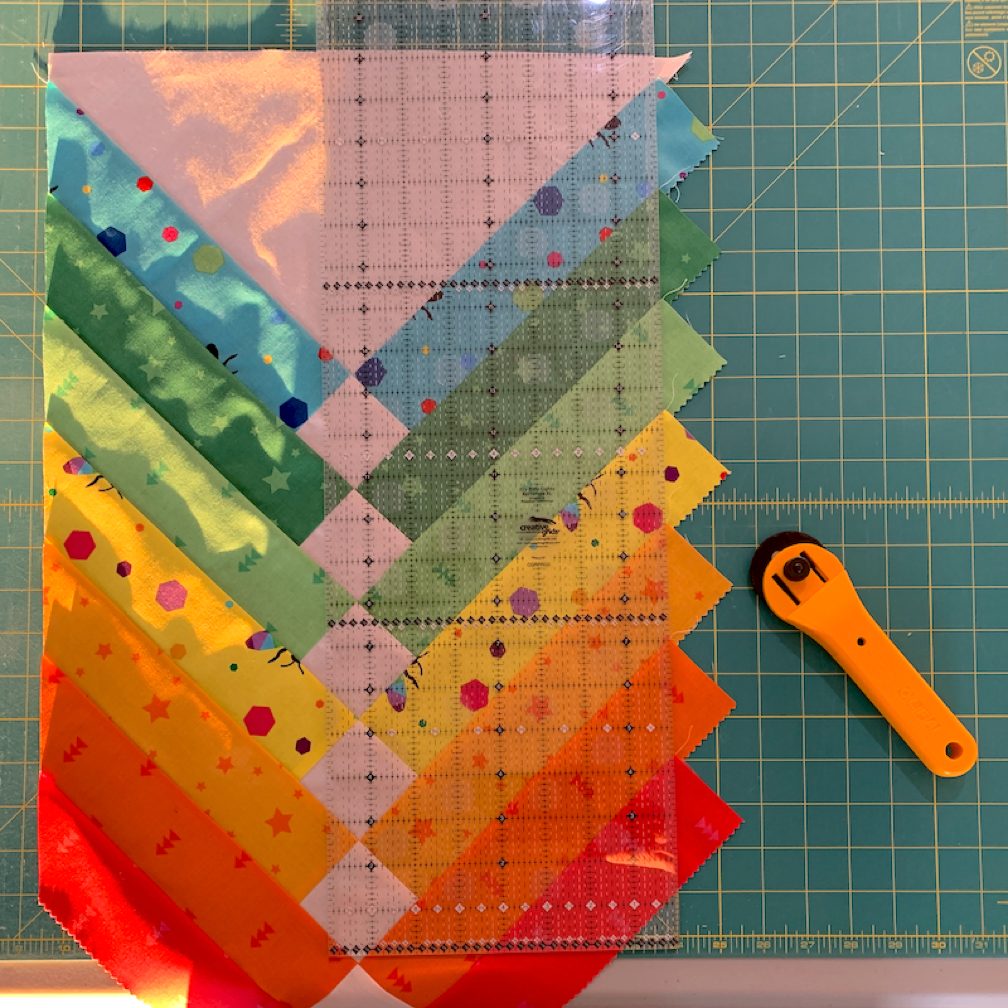
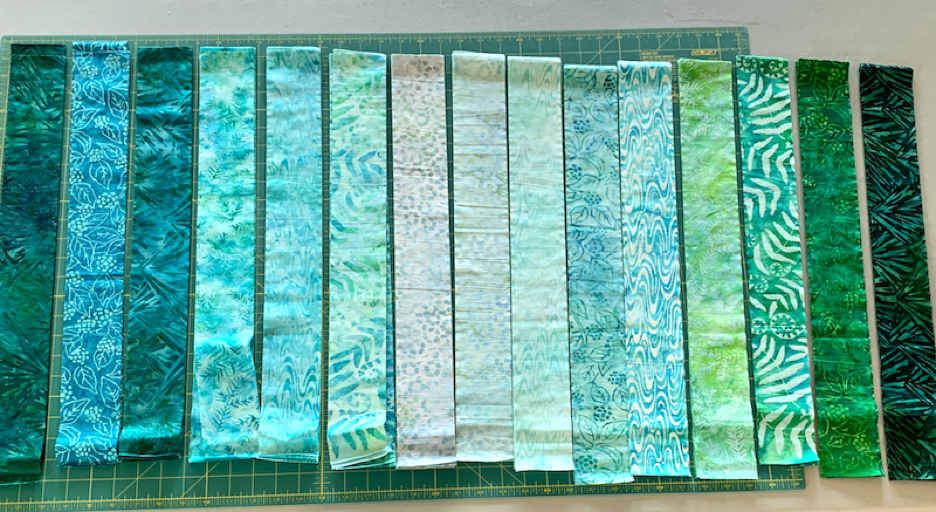
These are the strips I started out with (40 strips total, each 2-1/2 inches wide by 44 inches long):

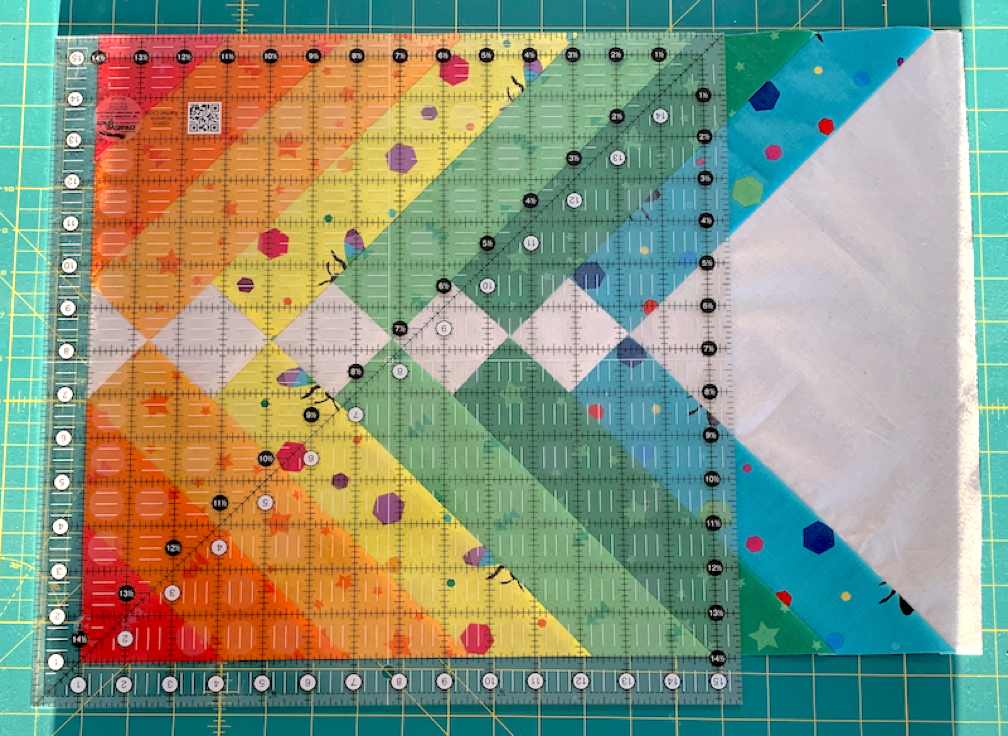
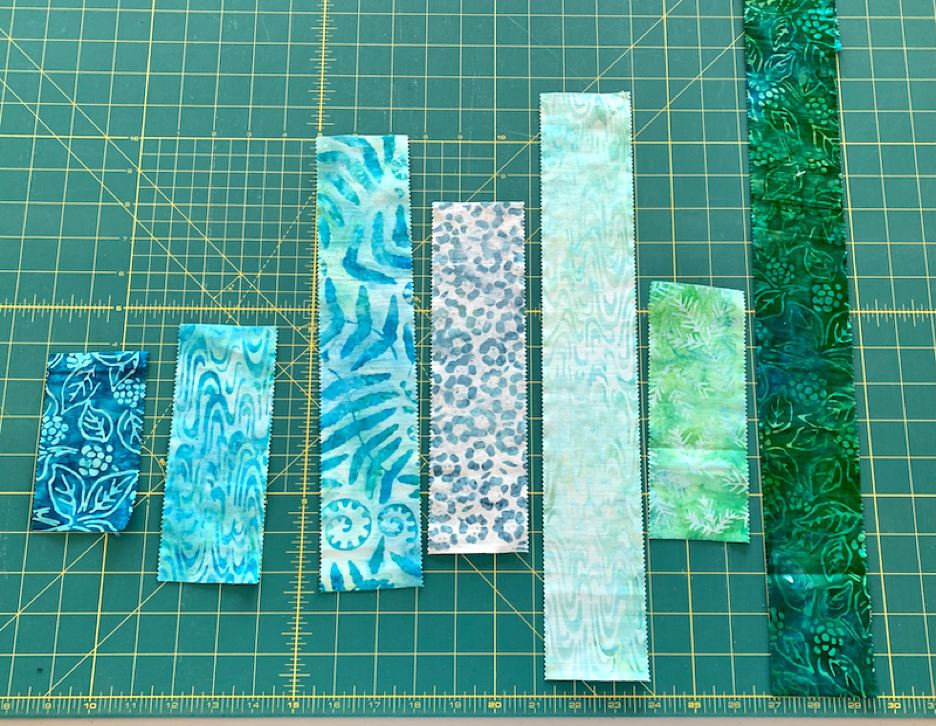
These are the strips I ended up with at the end: 

The giant log cabin block ended up 59 inches by 59 inches in size. I rather like the way it came out.

I wanted my quilt to be about 69 inches by 69 inches so I added a 1 inch and a 4 inch border all the way around.

My daughter really likes this quilt and I happened to buy two of this jelly roll so I will be making one for her too. For hers, I plan to add a magenta square to the beginning of each new strip I make. Should be interesting!

Update 9/16/2021: Here is the quilt I made for my daughter with cornerstones. I like it!

Quilt Block – French Braid

French Braid is one of my favorite patchwork designs to make and to look at. The look is meant to mimic the French Braid hairstyle, in which sections of hair are woven together from the crown of the head to the nape of the neck. This is one of those techniques that is easier to make than it looks.

Jelly roll strips (2-1/2 inches wide by width of fabric) are great for making French Braids. They are, of course, precut, and they also come in coordinating colors and designs.

Here are the parts in a French Braid quilt. I won’t use all these parts for my block but I think it’s useful to see what they are first.

Prepare Fabric

  1. Pick 6 different strips from your jelly roll or cut a strip, 2-1/2 inches wide by width of fabric from 6 different fabric colors and/or designs.
  2. Cut 4 pieces from each jelly roll strip, each 10-1/2 inches long by 2-1/2 inches wide.
  3. Lay the strips out in the order in which you want them to be in your braid. We will build the braid from the bottom up so lay the strips out accordingly.
  4. I decided to use the same fabric for my bottom triangle and my accent squares but you can use different colors. 
    1. Cut one 11-1/2 inch by 11-1/2 inch square from your bottom triangle fabric.
    2. Cut the square on the diagonal to make 2 half square triangles.
  5. Cut one piece, 2-1/2 inches wide by width of fabric for the accent squares.
  6. Cut the accent square strip into 2-1/2 inch by 2-1/2 inch squares.

Make Braid

  1. Right sides together, sew a side piece to the top left side of the bottom triangle.

2. Press towards the strips you just added.

3. Using another piece of the same fabric strip, sew an accent square to the end of the strip, with right sides together.

4. Press towards the strip you just added.

5. Right sides together, nest your seam and sew the accent piece/side piece combination to the right side of the bottom triangle.

6. Press towards the strip you just added.

7. Repeat steps 1 through 6 to add rows to the braid segment until you have 7 rows total.

Note: It may seem tedious to press each time you add a strip and pin the seam on the accent square but the tidy results seem worth it to me.

Trim to Size and Add Borders

  1. Line a ruler up to as shown here and trim the edges from the right side of the block.

2. Flip and do the same for the other side of the block.

3. Trim across the top of the block as shown.

4. Trim across the bottom of the block so the block ends up 14-1/2 inches by 14-1/2 inches.

  1. Cut two pieces, each 1-1/2 inches wide by 14-1/2 inches long for side borders.
  2. Cut two pieces, each 1-1/2 inches wide by 16-1/2 inches wide for top and bottom borders.
  3. Add side borders first and then top and bottom borders. You end up with a 16-1/2 inch by 16-1/2 inch block.

I made a second block, using the remaining pieces from the strips I cut for the first block. Then I made a tote bag! A full tutorial on how to construct the tote bag from the blocks you create is available at https://www.etsy.com/listing/1061546252/quilted-tote-bag-tutorial-pdf