Quilt Blocks – Pick Your Own Image
If you’ve ever looked at one of your own images (photos or artwork) or one you saw online and thought, “I wish I could print that and use it in a quilt block,” then this post is for you.
My friend Kristy Zgoda is an amazing artist in several mediums. She sent me two fabulous pieces of artwork and said I could print them onto fabric and use them to make a tote bag. Thank you Kristy! You can see her wonderful beadwork designs at https://www.etsy.com/shop/Kristyz.
I know of two methods for printing on fabric using a home printer. If you know of other methods, please tell me about them in the comments for this post. I will be using an inkjet printer.
- Use a commercially available product, such as Colorfast White Printer Fabric by June Tailor, which is what I am going to try out for this project.
- Use freezer paper and your own fabric. Search for “how to print on fabric” to find videos that show how to do this. I will try that technique out as well.
Use a Commercial Product
Note: The product I am using from June Tailor comes in 8-1/2 by 11 inch sheets.
You want to get the highest quality version of the image you can to get the best results for printing. Decide how big you want the printed image to be. For my tote bags, I’m aiming at a 16-1/2 inch square block. Since my images are not square, I know I will be adding one or more borders to pad out the size to make a 16-1/2 inch square block.
- If you are using artwork, like I am, scan or take a picture of the image. Use the highest resolution you can.
- If you don’t want the whole image, crop the image to include just the part you want.
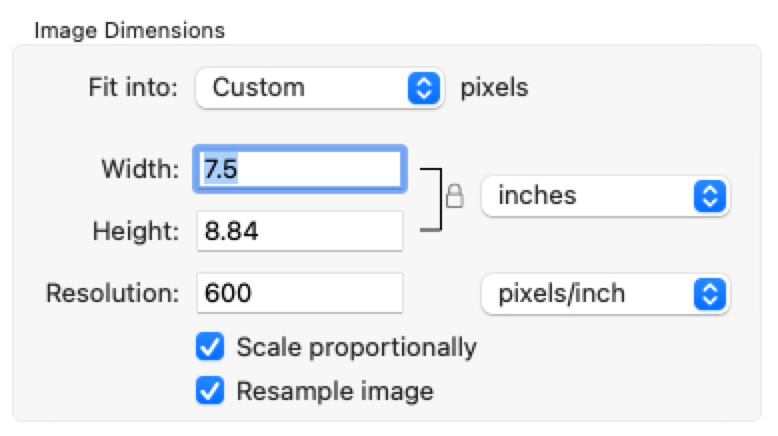
- Since the fabric I’m printing on is 8-1/2 by 11 inches, I can’t print it any larger than that. I also can’t print all the way to the edges so I picked the widest I can print, 7-1/2 inches, keeping the resolution that I scanned with (600 DPI), and scaling proportionally.
- Save your file and make a note of where you saved it.
- Do a test print on paper to make sure your image looks the way you want it to and is the size you wanted.
Note: Make sure you print at 100%. - Read the instructions that came with your printable fabric!
- When you’re ready to print on fabric, make sure you know which side up the fabric sheet goes into your printer. There should be a symbol that shows which side up to put paper. I recommend that you take all paper out of your paper tray and only put one printable fabric sheet in the tray.
- Print!
The June Tailor fabric sheets instructions say to use “normal quality, plain paper” setting. That worked great for one image I printed but it was a bit faded on the second image I tried. So I tried again using “photo on matte paper” setting and the results were much better for the second image. - Let your printed fabric sit for at least the time designated in the product instructions.
- When you’re ready to use your printed image, remove the backing.
Use Freezer Paper
Note: The reason you cut the fabric and paper larger than the target size is because if there is even a slight difference in size between the fabric and paper, you will end up with smudging when you print. I’m sure you can guess how I figured that out. And even with trimming down, sometimes I got smudges using freezer paper.
Note: Make sure you use freezer paper and not wax paper. Freezer paper is only coated on one side whereas wax paper is coated on both sides and it will definitely stick to your iron if you use wax paper.
- Cut a piece of fabric that is 10 inches by 12-1/2 inches.
Obviously you want a color that is light enough to allow the image you are printing to show well. - Iron the fabric so there are no wrinkles or creases.
- Cut a piece of freezer paper to 9-1/2 by 12 inches.
- Place your fabric on your ironing board, right side down if there is a right side.
- Center the freezer paper on the fabric, shiny side down. The shiny side is where the adhesive is and it’s usually on the inner part of the roll.
- Using no steam, iron the fabric and freezer paper together. Pay special attention to the corners. If you are have a problem in printing, it’s often in the corners.
- Let your homemade printable fabric cool down for a minute or so.
- Trim your printable fabric to 8-1/2 by 11 inches.
- You have now created more or less the equivalent of the printable fabric you can purchase. Repeat steps 1 through 10 in the previous section (Use a Commercial Product) to print your image.
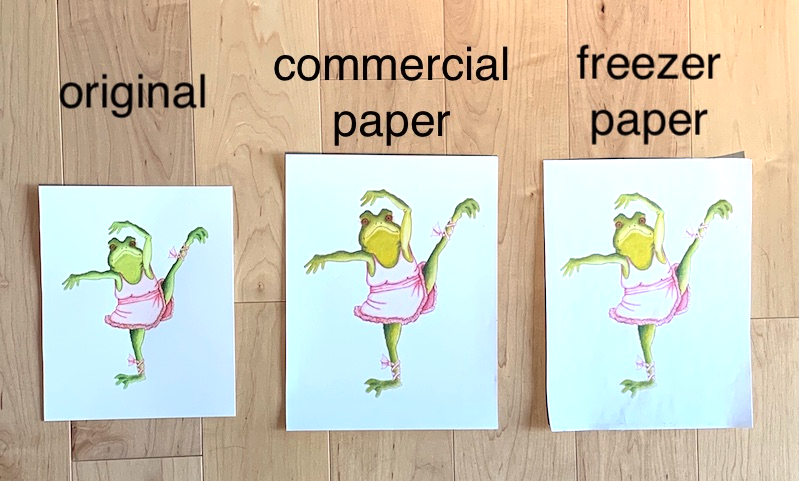
Results
Here are the results. Neither looks exactly like the original but they are both pretty good. In a pinch, I would use the freezer paper method but, truthfully, I prefer the convenience and results of the commercial product.
Treat the Fabric
If you plan to wash the project you make with your printed block, it may be a good idea to treat it with Retayne. A good video showing this is at https://youtu.be/o2UzbGLaBK4
The June Tailor commercial product I used says it is Colorfast, and in my previous experiences with the product, it mostly is colorfast. The images faded a bit but not much with washing.
Use the Printable Fabric
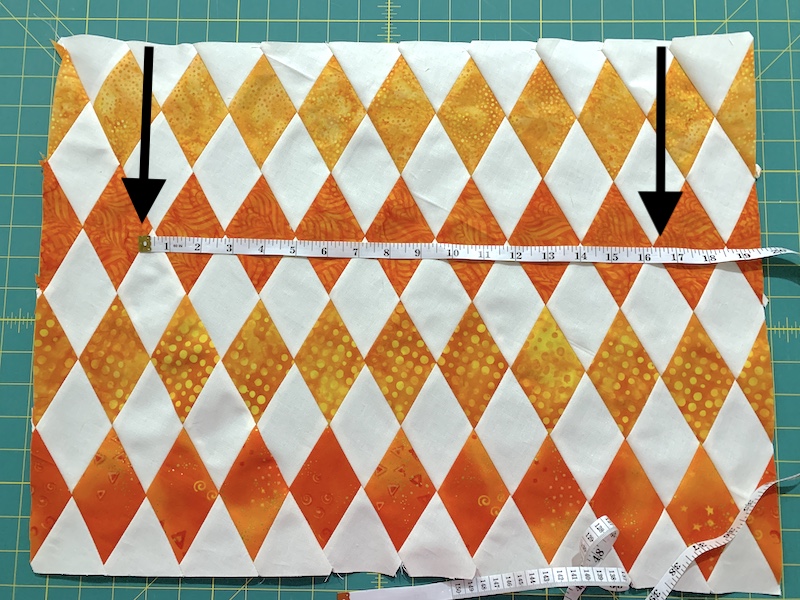
Trim your printed fabric to the size you want. Leave at least 1/2 inch around the edges of the image. I only left 3/8 inch and I ended up cutting off a bit of one edge of my image.
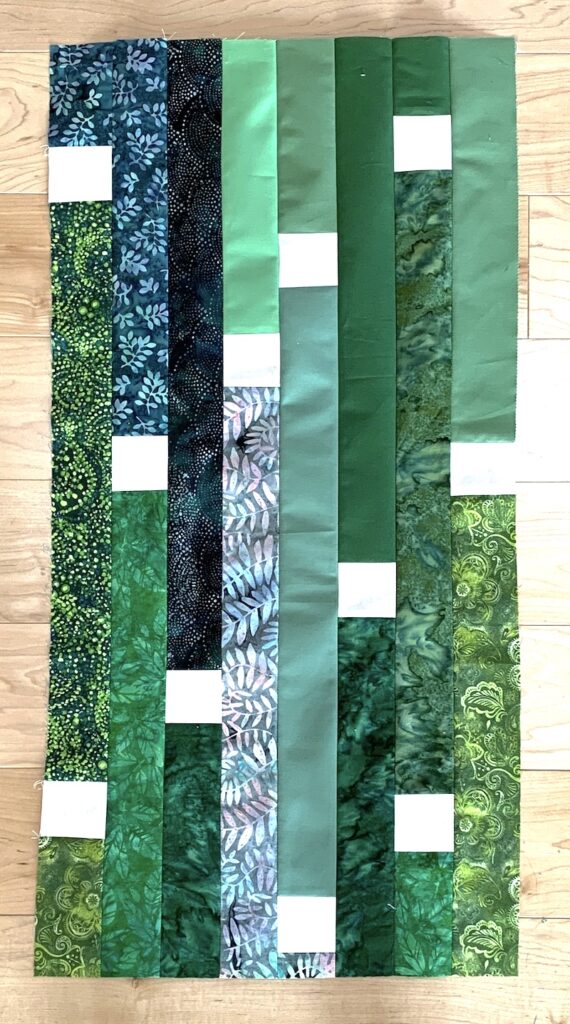
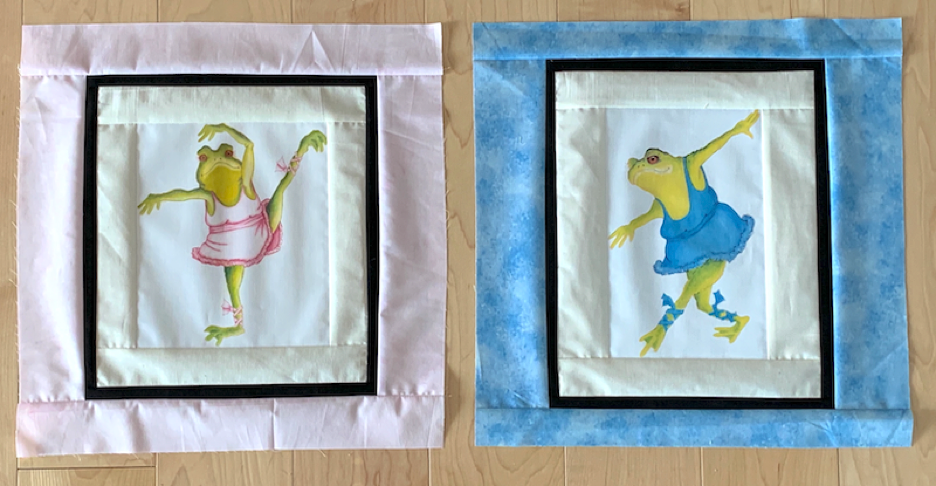
Time to make my tote bag! The borders around the images are going to be different sizes since the images themselves were not the same size (different width and height and not in the same proportions).
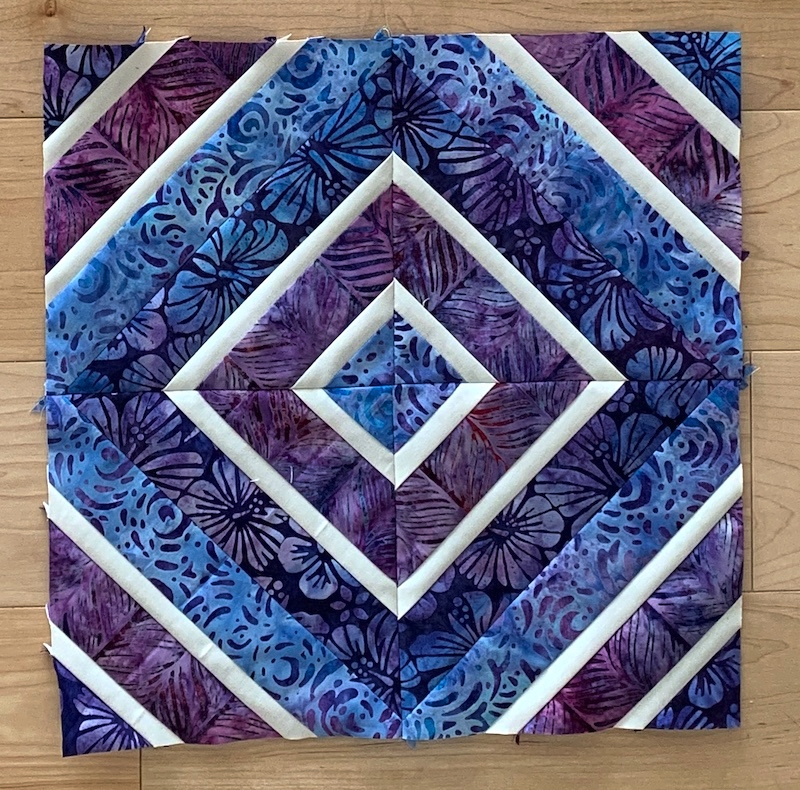
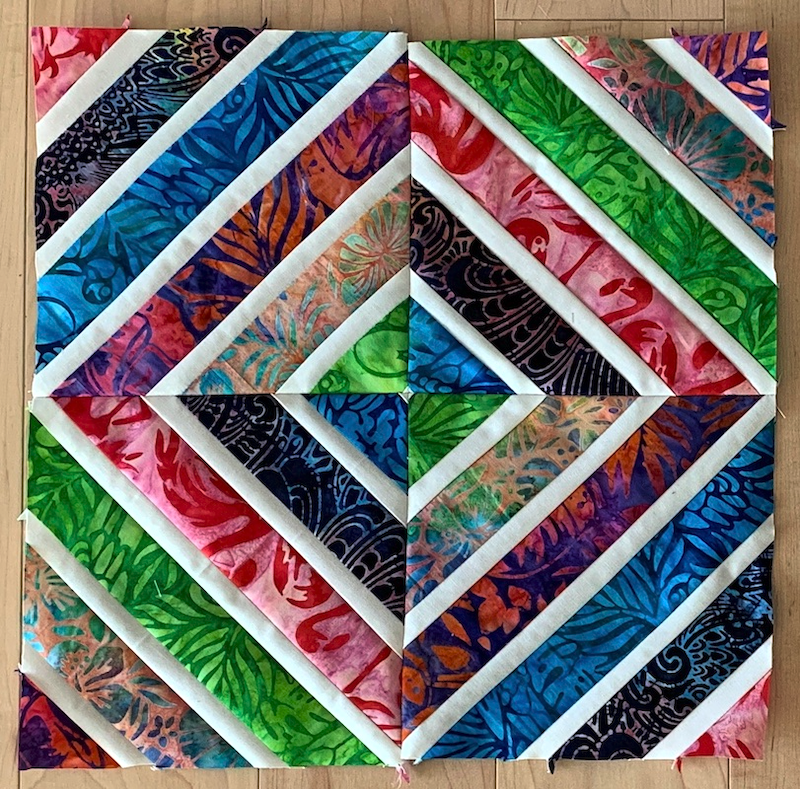
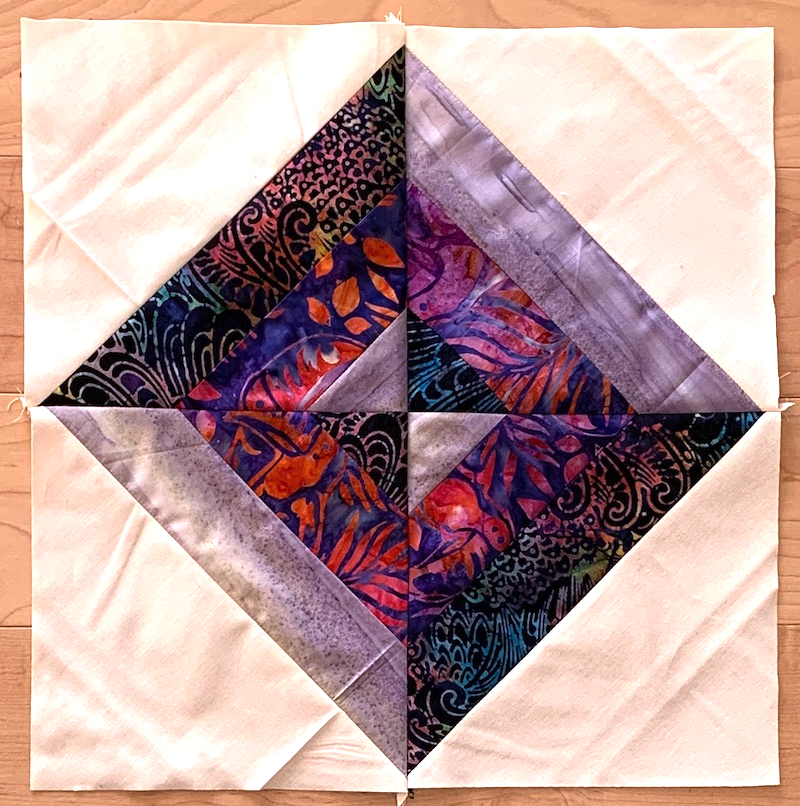
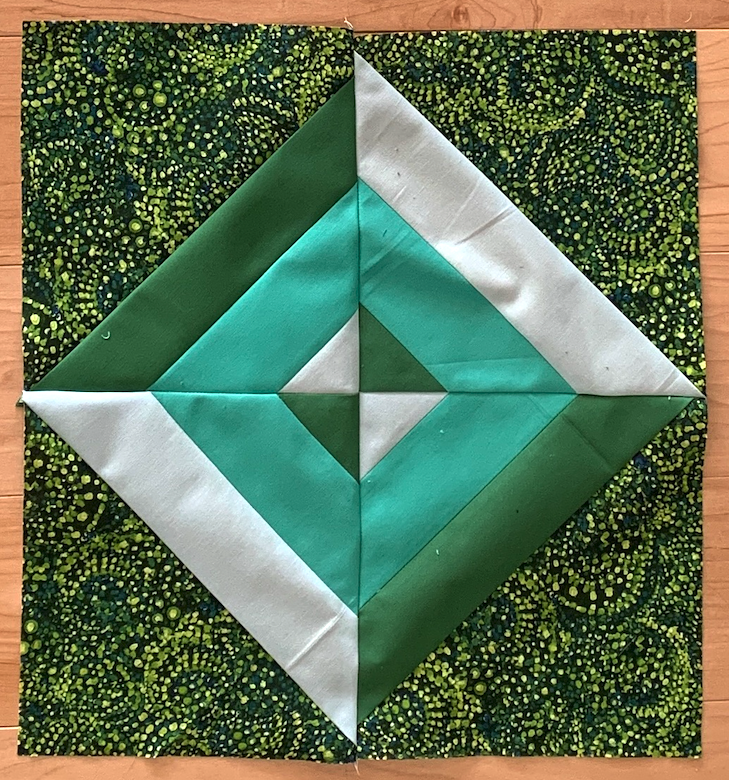
As I said earlier, I want my blocks to end up 16-1/2 inches square. I will write in detail in another blog post about how I calculate borders for a center block or panel when I want the finished piece to be a specific size. This is how the blocks came out.
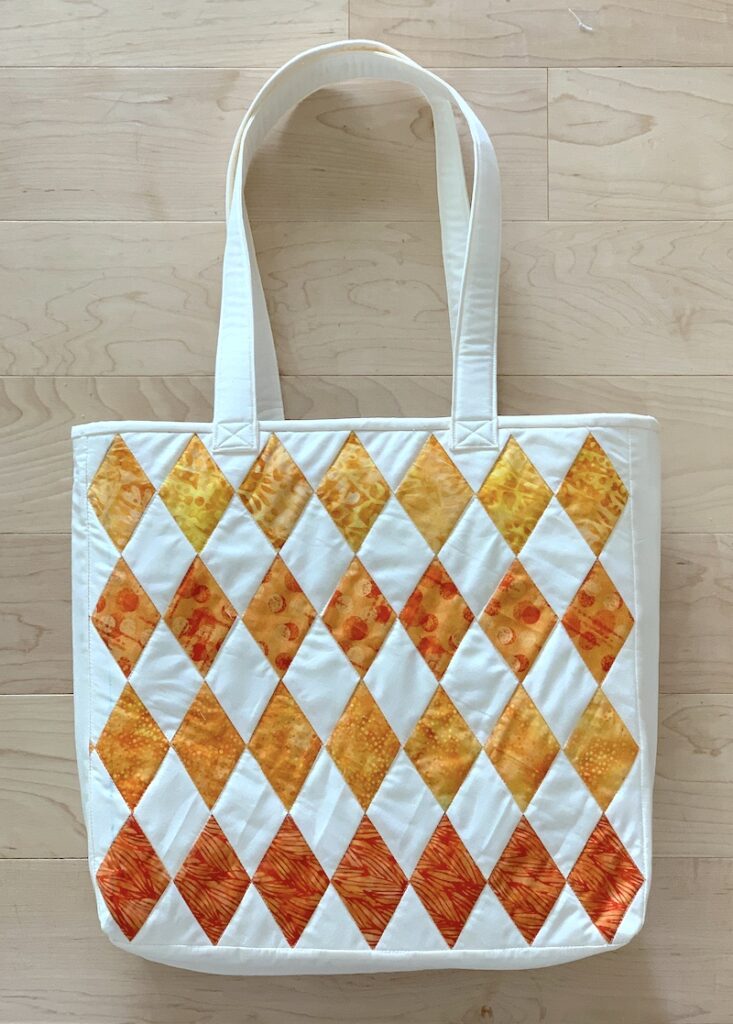
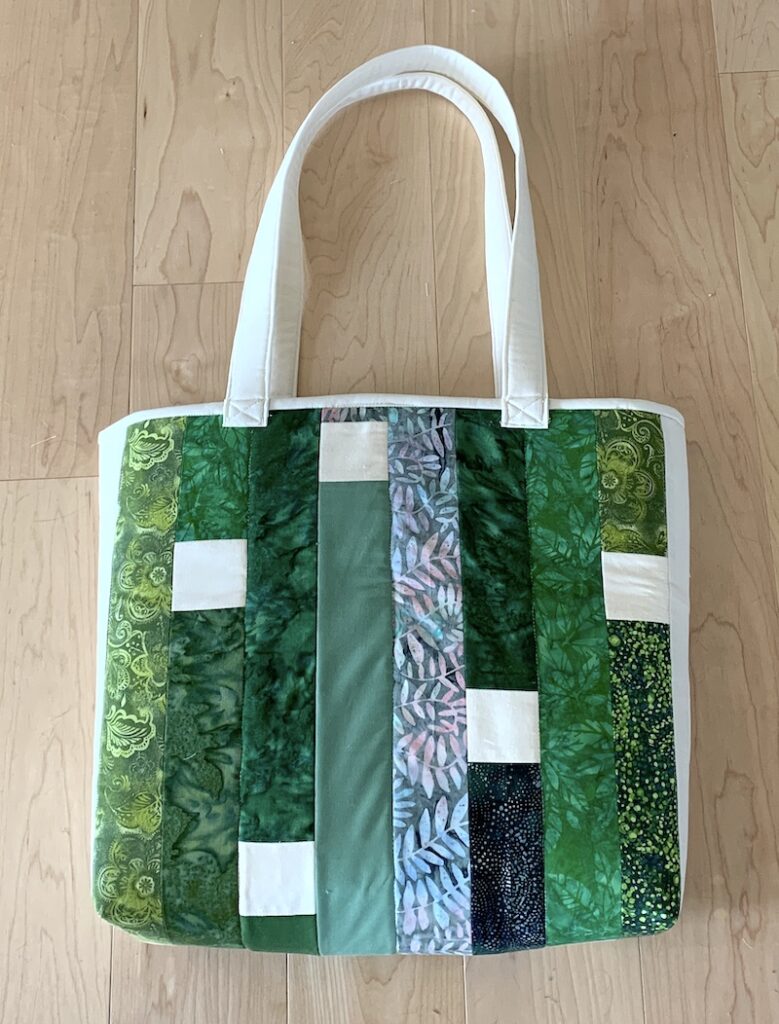
This is how my tote bag came out. I love it!
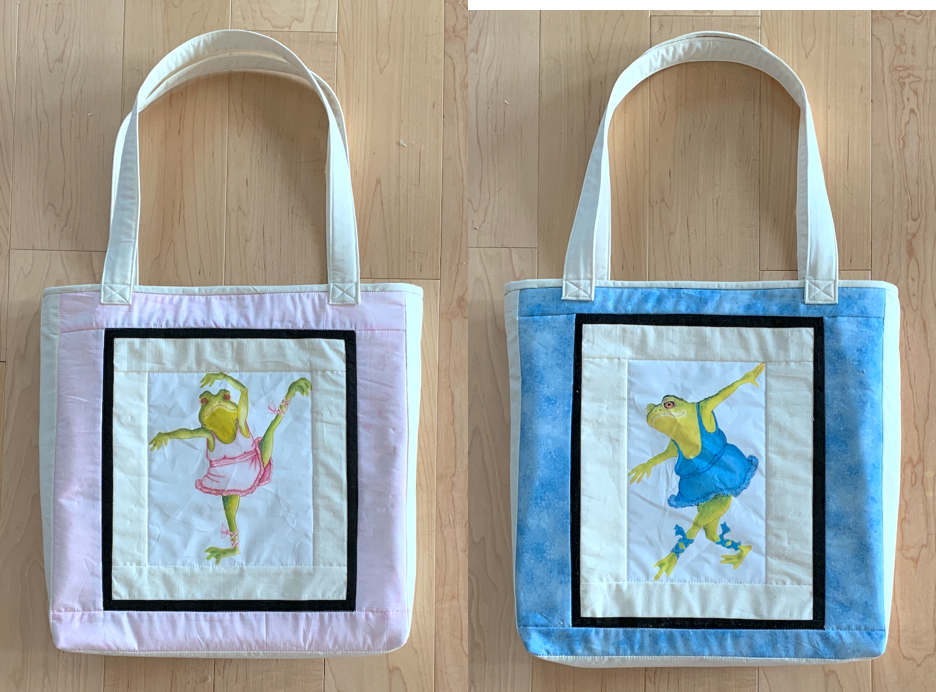
My instructions for making the complete tote bag are available at https://www.etsy.com/listing/1061546252/quilted-tote-bag-tutorial-pdf .