I showed you how I made a pattern for a sleeveless top in a previous blog post (https://quiltingbydiana.com/sewing-a-garment-for-the-first-time-in-over-30-years/). When I washed the completed top, I didn’t like the way the facings needed ironing to make them lay flat again. And I didn’t like seeing the exposed seams. So I decided to figure out how to make the top fully lined. To my surprise, not only did the lined top launder better and look better but it felt better to wear! I thought it would be too warm but, perhaps because I used all cotton fabric, it did not feel too warm at all.
One video I watched made all the difference for me in understanding the “burrito” method for sewing a lining into a sleeveless top. It was “Using The BURRITO METHOD To Create a Sleeveless Top” by Ellie and Mac Patterns. It’s at https://youtu.be/1_GmIQbijks I highly recommend you watch this video before trying the burrito technique.
The instructions below assume your top is tunic length. If it is shorter, and you don’t need vents for comfort (especially sitting down), then ignore the instructions about creating and finishing vent openings. The vents are closed but the bottom edge is hemmed but not connected. I find that it falls more nicely that way.
I decided to change the name of my blog to Sewing by Diana since I’m going to be making lots of things besides quilts. I still love making quilts but have been feeling the need to make other things, like tote bags and clothing. Both quiltingbydiana.com and sewingbydiana.com will work to get there.
For my first experiment in making clothing, I decided to make a sleeveless top. Seemed like the simplest place to start.
Make a Pattern
The first thing I did was take a top that I know fits me and trace around it onto Swedish Tracing Paper. I saw this paper recommended in a video I watched and it is perfect for making your own patterns. It marks well, drapes well, and holds up even after multiple changes.
I folded the top in half, laid it down flat, and marked the bottom, sides, shoulder, and neckline for the front. Then I turned it over and did the same for the back.
Then I cut out the pattern I traced and wrote the piece type, the pattern name, how many to cut, and noted where to place on the fabric fold for cutting.
Try It Out
Then I tried making a sample garment to see whether it fit. Well, not so much 🙂. So I made some adjustments to the pattern and tried again. Much better this time although not perfect. I kept making adjustments on my pattern on my second sample garment until it fit reasonably well. I also added the neck and armhole facings to make sure they worked as I thought they would. Fortunately I did a lot of garment making when I was in my teens so I knew how things should go together.
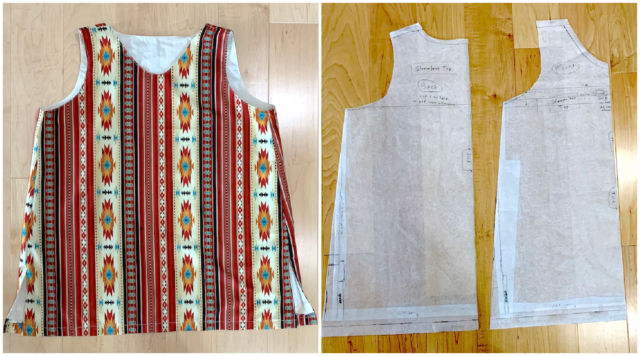
Here is the second sample garment I made, with lots of experiments on it.
Use Fabric I Would Want to Wear
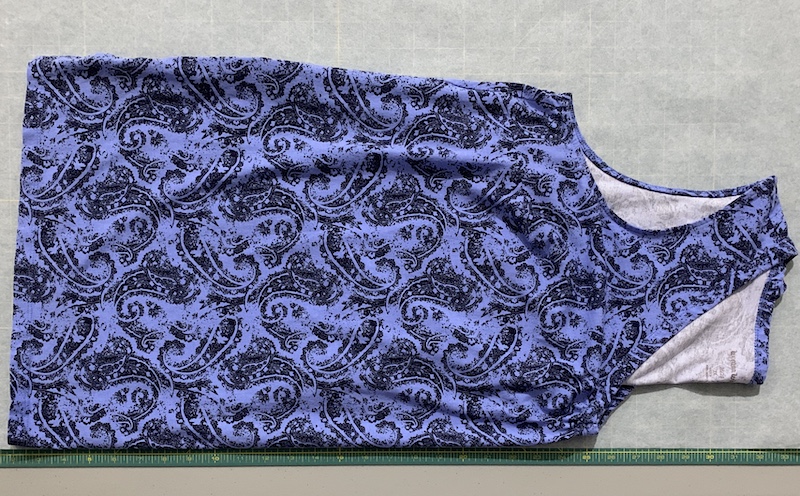
Once I was satisfied that I had made the adjustments to the pattern that I needed, I decided to try the pattern out with fabric I would want to wear. It came out pretty well but I decided that the side vents needed to be a bit longer for comfort, especially sitting down.
A More Interesting Design
I made the vent changes on the pattern and decided to try something more interesting.
I sewed 8 different 2-1/2 wide by width of fabric strips. I used the overlocking stitch on my sewing machine to sew them together and it worked really well. I didn’t want the seams to fray over time and I think this will definitely help.
I cut across the halfway point of the strips to make 2 equal sized sections, which I sewed together along the vertical direction of the strips.
On the front piece, I marked across the pattern at the bottom of the armhole on the pattern to mark a yoke.
I cut the panel I created using the pattern with the yoke folded down, allowing for a seam.
Next I cut a yoke piece using the top part of the pattern, allowing for a seam.
I did the same for the back of the top.
Finally put the top together the same way as before.
Here is what my front pattern ended up looking like with all the adjustments and the yoke marking.
And here are the facing pieces.
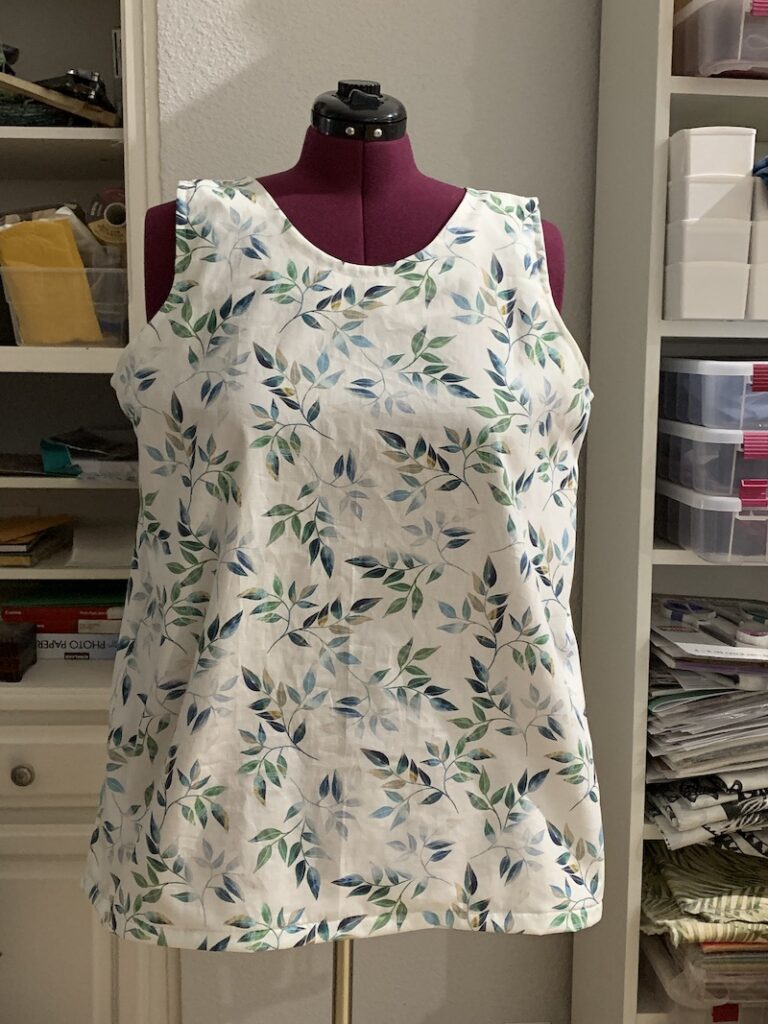
Overall I’m really happy with how this top came out. I’m definitely going to continue with garment making.